Creating Dynamic Material

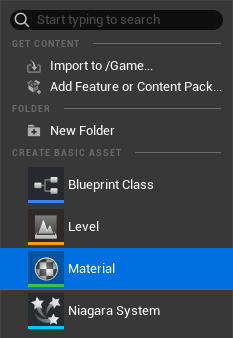
- Navigate to the Content Browser, right-click, and choose "Material."
- Rename the material according to your workflow for improved organization. In this example, we'll use the name "m_Plane."
- Double-click on the "m_Plane" material to switch to the Material Editor interface.

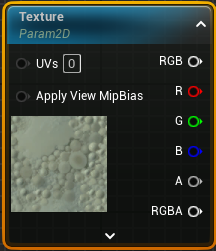
- Right-click on the Material Editor node graph canvas, then locate and choose the "TextureSampleParameter2D" node.
- While the "TextureSampleParameter2D" node is selected, navigate to the Details menu on the left side and edit the "Parameter Name" field found in the General section.
info
Remember the name of the texture parameter as it will be required for the subsequent steps. If you plan to input texture to multiple assets in your project, ensure that the names are unique from the start, such as "Video1", "Video2", "Video3". In this tutorial, we've named our parameter "Texture," as demonstrated earlier.

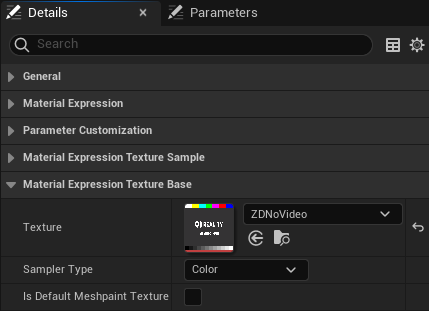
- Navigate to the "Material Expression Texture Base" property group. From the Texture property dropdown menu, choose the ZDNoMedia texture asset.
info
If you cannot locate the ZDNoMedia texture, select the ZDNoVideo texture asset from the Texture property dropdown menu instead.

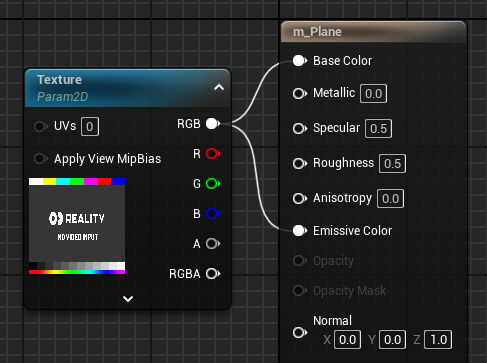
- Connect the RGB output of the TextureSampleParameter2D node to both the Base Color and Emissive Color inputs of the "m_Plane" node.
- Save the material by clicking on the Save button.