Adding Reality User to Windows
It is important to add a Reality user to access the engines easily and do all the configurations, especially for remote installations and support.
Adding a New User
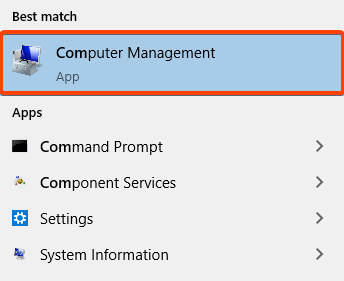
Go to COMPUTER MANAGEMENT on the start menu as shown below:
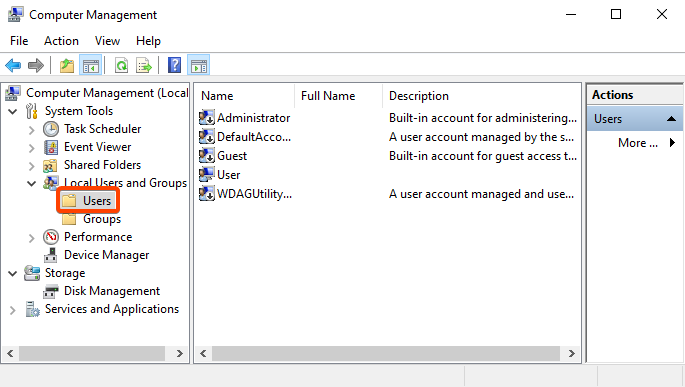
Click on Local Users and Groups > Users to view the existing user list.
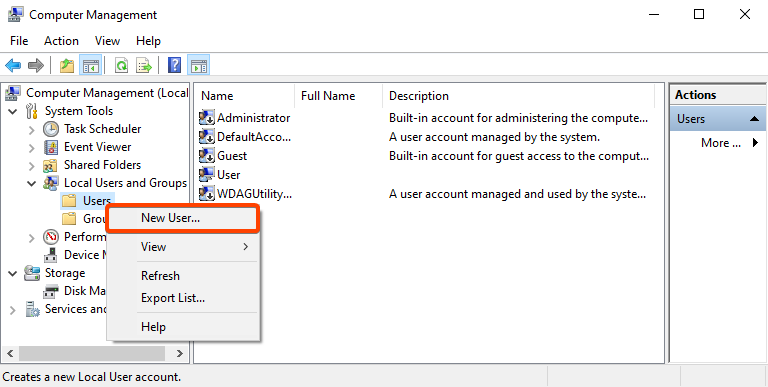
Now right-click on the User List area and click on NEW USER.
Create a new user with the following details:
- User name:
reality - Full name:
reality - Description:
reality - Password:
reality
Uncheck the option User must change password at next logon, and check the options User cannot change password and Password never expires. After making these changes, click CREATE and then CLOSE as shown below:
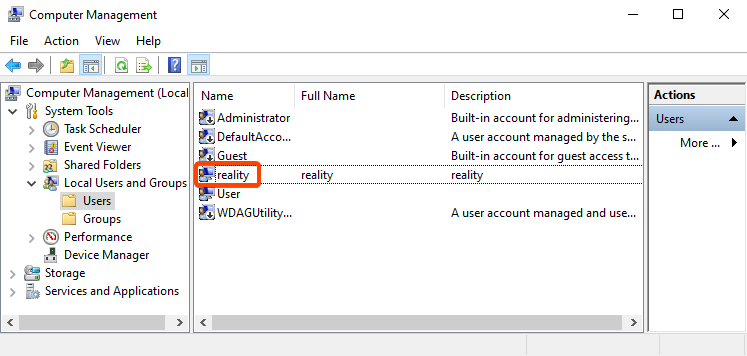
When you go back to the User List view, you will see that the user named reality is created and listed.

Adding User to Administrators Group
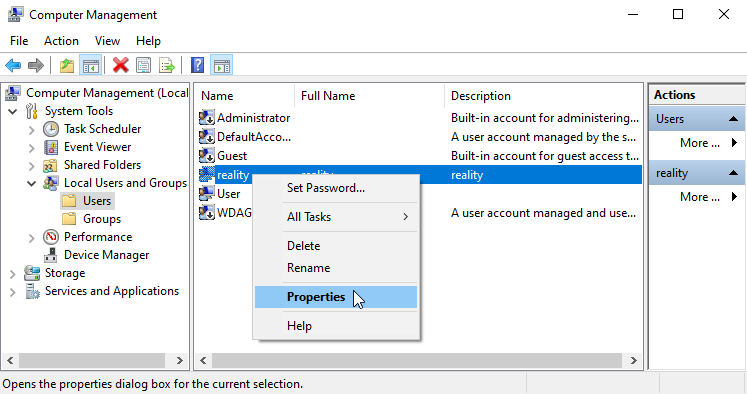
Right-click on the reality user and select PROPERTIES as shown below:
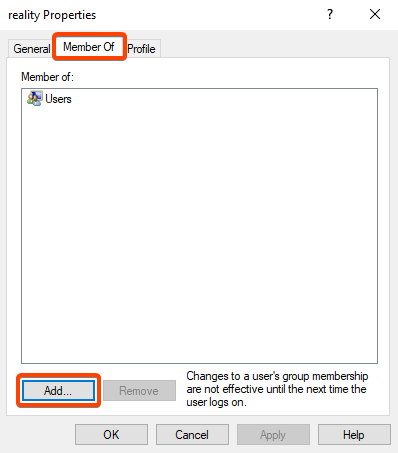
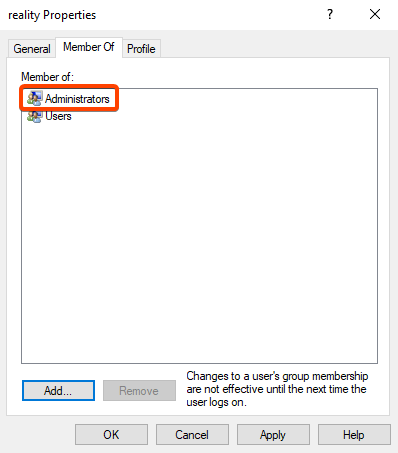
Go to the Member Of tab on the reality Properties dialog and click on ADD to add this user to another existing group.
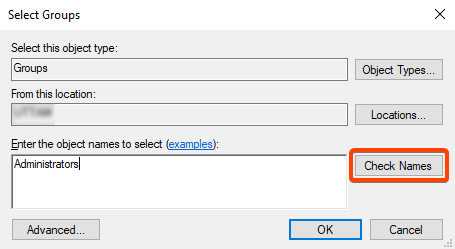
On the Select Groups window, enter the object name as Administrators (subject to change depending on the computer's language settings) and click on CHECK NAMES.
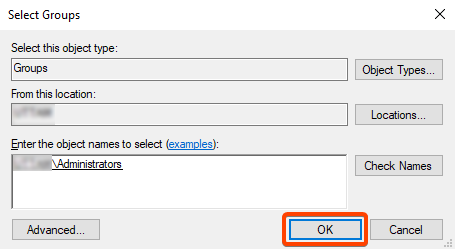
Once the group name is correctly typed, you will see that this user is added to the Administrators group. Click OK.
You will see that this user is added to the Administrators group.
Setting Reality User as Default in Windows Start-up
After adding the reality user to the Users, go to RUN on the start menu as shown below:

On this window, type netplwiz and click OK.

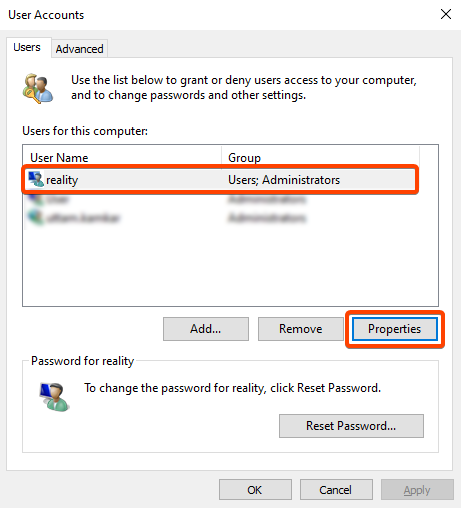
On the User Accounts window, go to the Users tab, select the reality user, and click on PROPERTIES.
Type the User name, Full name, and Description as reality and click OK.

Now the reality user is successfully added.