Version: Reality 5.4 SP1Creating Property Animation
- Switch to the Sequencer or open it if it's closed by going to Window > Cinematic > Sequencer.
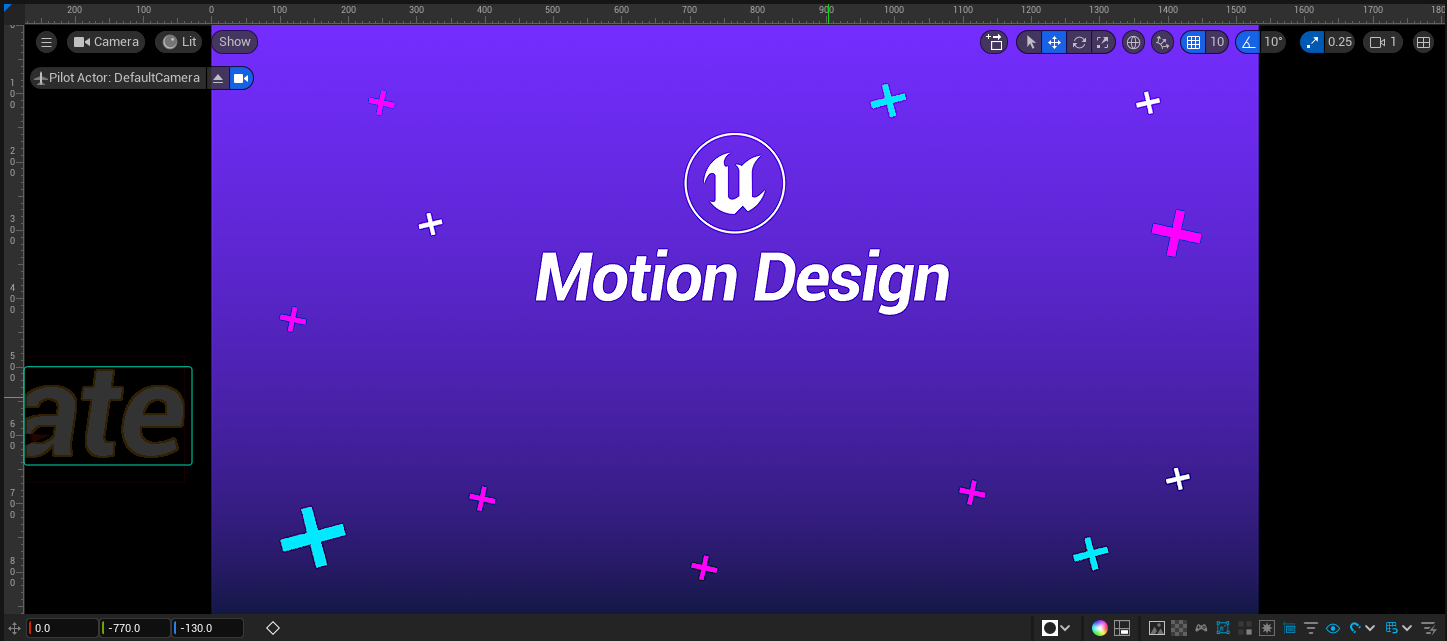
Motion Design Viewport
- Select Title Two and move it outside of the camera view, such as -770.0 in the Y direction.
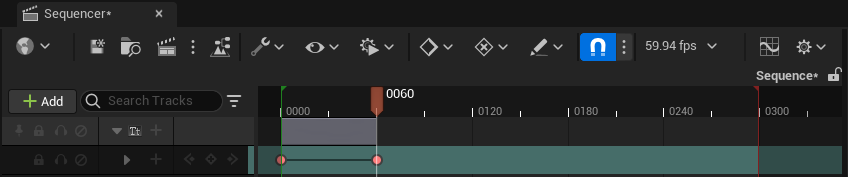
Sequencer Animation Keyframe
- Go to the first frame in the Sequencer timeline editor, then add a keyframe to the Location property.
- Move to frame 60, set the Y transform value to 0.0, and add a keyframe to the Location property.
- Move to frame 120, set the Y transform value to 770.0, and add a keyframe to the Location property.
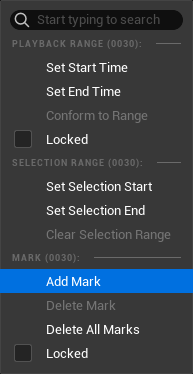
Add Mark
- Go to frame 60, right click on the time ruler and select the Add Mark option, as shown above.
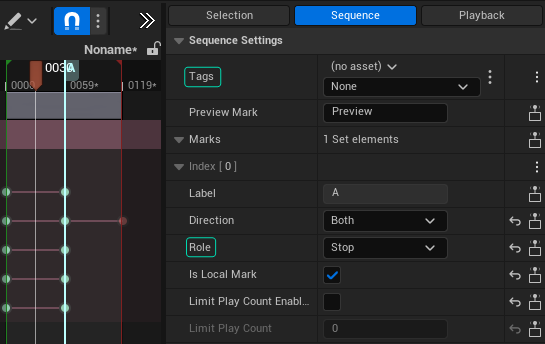
Sequence Settings
- Select the Mark, go to Sequence Settings tab, click on the Sequence.
- Change the Tag property to None, then change the Role property to Stop, as shown above.
- Save the changes.

Saving Level