Operating Form Builder
This section offers detailed step-by-step information on utilizing the Form Builder for beginners. Departing from the information provided in this section, you can drive more complex scenarios independently.
This section uses the MainLevel map of the RealityExamples template, compatible with Reality Engine version 4.27. It is the default project that comes with a fresh installation. After launching the Reality Editor, you can create the same project through the Virtual Studio template. For more details, visit Reality Starter Projects.
Please keep that in mind; to see the results of your template Forms, you must use the Playout module.
Preparing Action
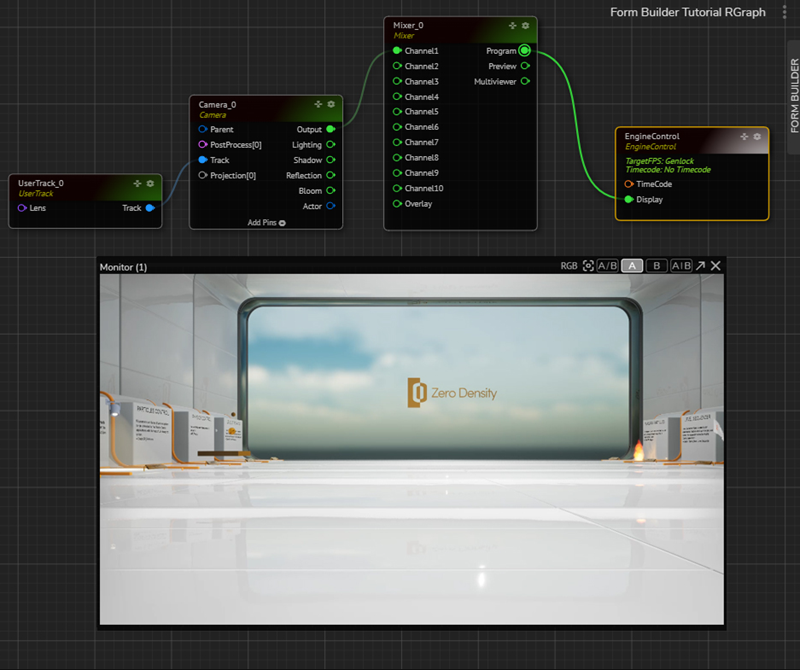
- Activate the Nodegraph/Actions tab
- Create the node tree as shown in the image above
- Activate the APM
- Activate the Actions tab, click on the
New Actionbutton, rename it if you like - Select the
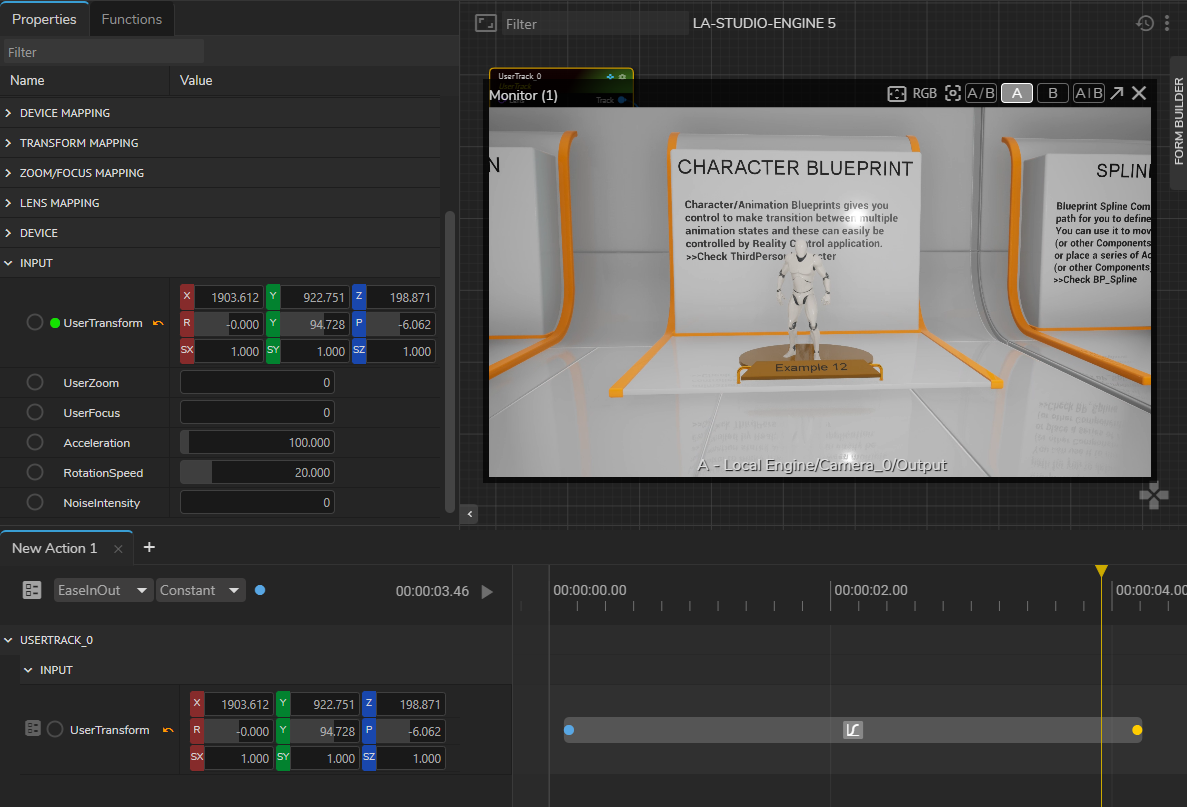
UserTrack_0node, go to its Properties panel, find theUserTransformproperty under theInputproperty group - Hover your mouse over the
UserTransform property circle, right-click on it, and select the Timeline. - Go to the first frame in the Action Timeline, right-click on the
UserTransformproperty circle, and select the Add Keyframe. - Go to the third second in the Timeline, and change the
UserTransformproperty values using the GamePad feature. - Right-click on the circle of the
UserTransformproperty, select the Get Value option, then right-click again and this time select the Add Keyframe. - While the second keyframe is selected, go to the Animation Interpolation, and change the interpolation type to EaseInEaseOut.
- Go to the Actions Menu and Save it
Your setup must look like in the image above.
Now:
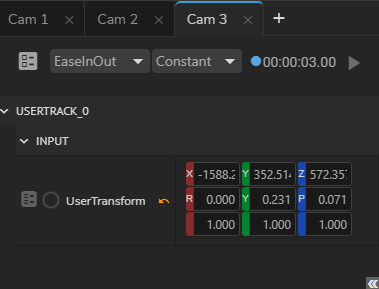
- Go to the Action tab, click on the Add button, create a New Action, and rename it if you like
- Repeat the same process twice with different
UserTransformvalues
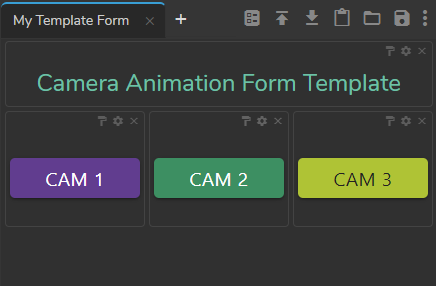
As the image above shows, we have three different Action animations (Cam 1, Cam 2, and Cam 3) of the same UserTransform.
Now it is time to design our template form via Form Builder.
Preparing Template Form
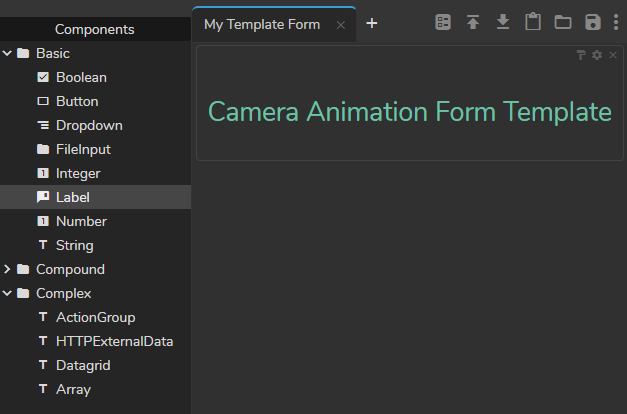
- Activate the Form Builder tab, click on the
New Formbutton - Go to the Components, expand the Basic component group
- Left click and hold your mouse on the Label component, drag and drop it into the Form template area
- Click on the Field Settings icon of the Label component. Change the name and color of it.
- Go to the Cam 1 action in the Actions tab; use the previous method and drag and drop the
Playbutton into the template Form area. - Repeat the same process for Cam 2 and Cam 3
- Click on the
Savebutton in the Form Builder Menu