Enabling DX12 and Ray Tracing
There are few pre-requisite settings that need to be done in Reality Editor to work with Ray tracing:
- Starting Reality Editor in DX12 mode.
- Enabling Ray Trace rendering in Reality Editor.
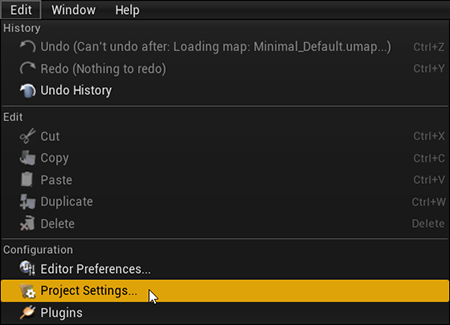
Go to the main menu and use the File menu to open the Project Settings.
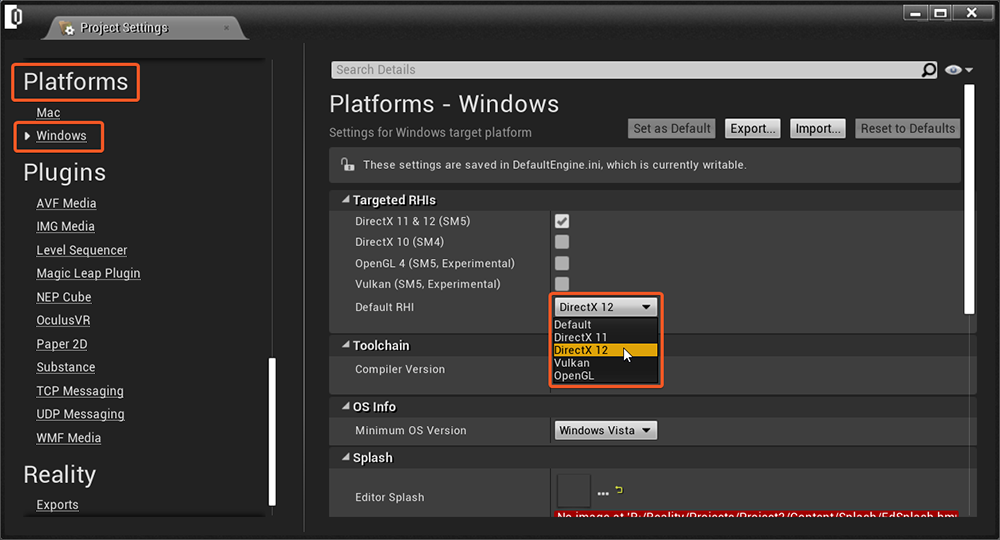
- Under Platforms > Windows, use the Default RHI dropdown to select DirectX12
There is also another method in which you can start Reality Editor in DX12 mode:
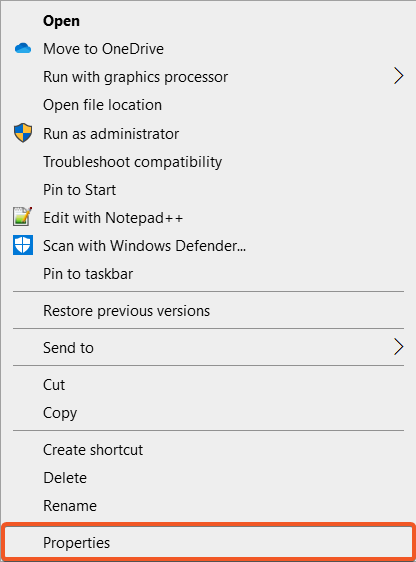
- Right click on Reality Editor shortcut icon and go to Properties.
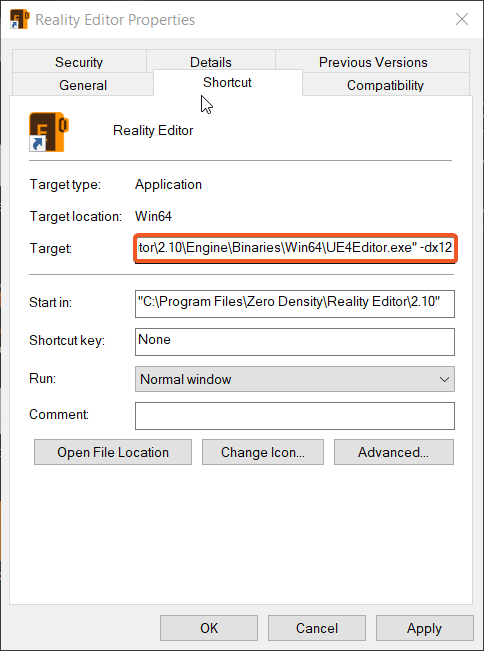
- Under the Shortcut tab > Target section, at the end of the file path “C:\Program Files\Zero Density\Reality Editor\2.8\Engine\Binaries\Win64\UE4Editor.exe”, leave a <space> and type "-dx12" as shown below:
info
Now whenever you launch Reality Editor, it will launch in DX12 mode.
warning
Reality Editor will always launch in DX12 while -dx12 suffix is present in the Target path.
Enabling Ray Trace
- One Reality Editor is launched, Under Engine > Rendering, enable Ray Tracing
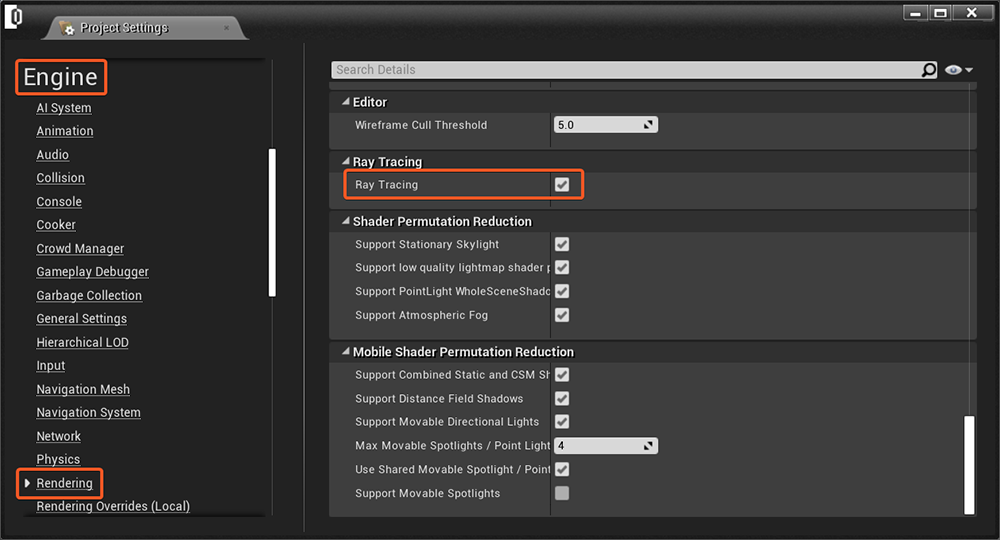
- To enable Ray Tracing, Support Compute Skincache must be enabled for the project. If it is not already enabled, you’ll receive a message dialogue asking if you would like to enable it now. If so, click Yes.

- Restart the Reality Editor launch with DX12 and to enable Ray Tracing for your project.