Activating Destructible Mesh
In this tutorial, we will destroy a destructible mesh using property binding from Reality Editor to Reality Setup. Destructible Mesh is a mesh form that could be destructed by having damage. We are planning to destruct a mesh during on run-time by exposing a variable into Reality Setup.
This tutorial focuses on two learning topics:
- Have knowledge about “OnChanged_” function definition.
- Understanding the ZD ACTOR component.
Getting Started
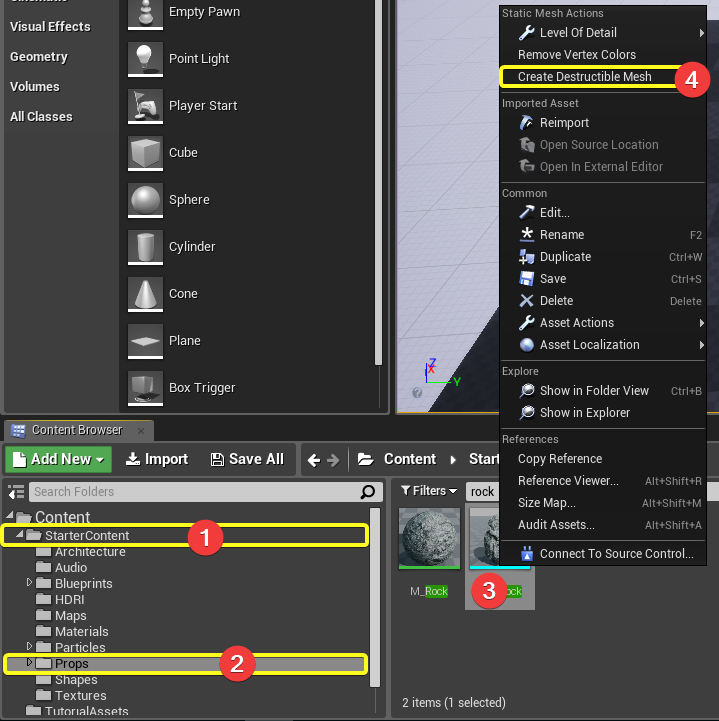
- Go to STARTER CONTENT → PROPS folder. Search for "rock" and right-click on SM_Rock and click CREATE DESTRUCTIBLE MESH
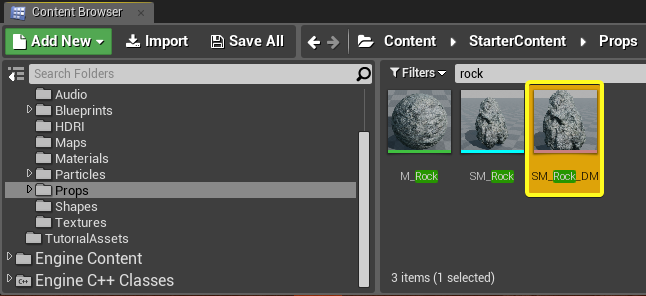
- SM_Rock_DM will appear after clicking on the CREATE DESTRUCTIBLE MESH
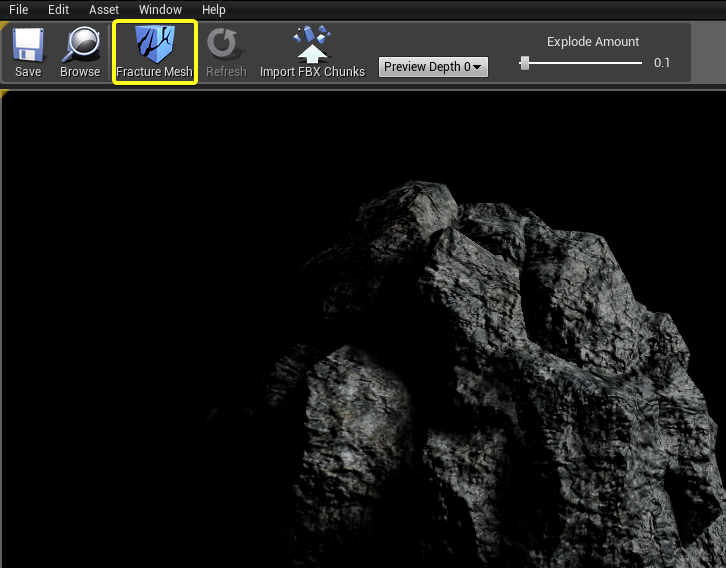
- Double Click on SM_Rock_DM. Click FRACTURE MESH
- On the Destructible Settings panel, check ENABLE IMPACT DAMAGE. Close the SM_Rock_DM window.
- Click BLUEPRINT CLASS

- Select ACTOR
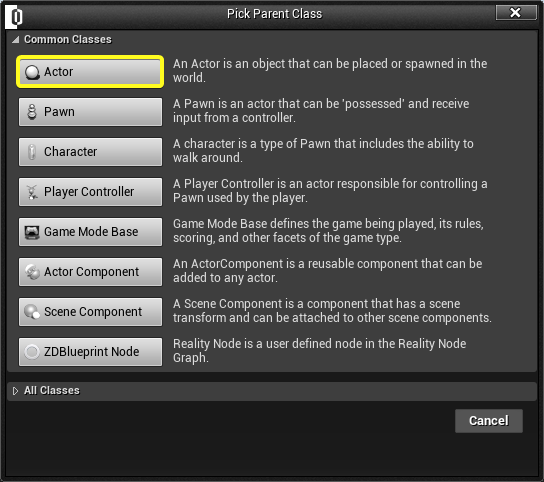
- Rename it as DestructibleActor. Double click on it.
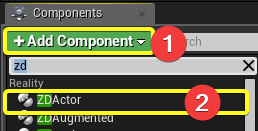
- Click ADD COMPONENT + ZD ACTOR
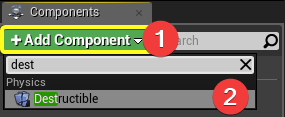
- Click ADD COMPONENT + DESTURCTIBLE
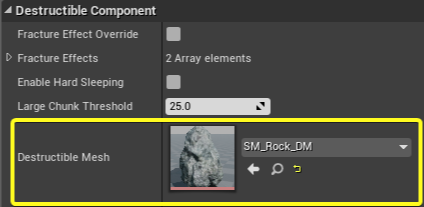
- Click Destructible on Components tab. In the Details Panel(on the right-side) under Destructible Component category Select Destructible Mesh as SM_Rock_DM.
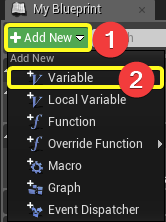
- Click ADD NEW and VARIABLE under My Blueprint tab.
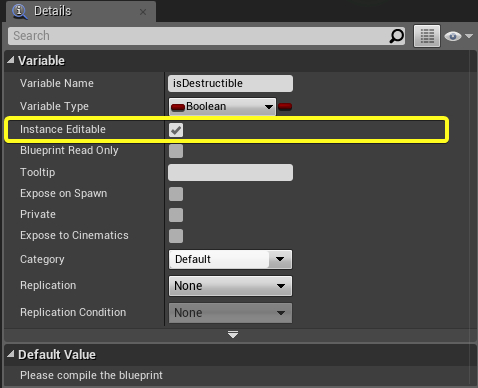
- Click on variable on Variables tab. Rename the variable as isDestructible and make it public(instance editable) on Details Panel(on the right side of screen).
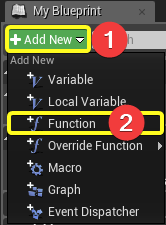
- Click ADD NEW and FUNCTION on My Blueprint tab.
- Rename the function name as OnChanged_isDestructible.
warning
Important Node: The function name follows this pattern OnChanged_isDestructible.
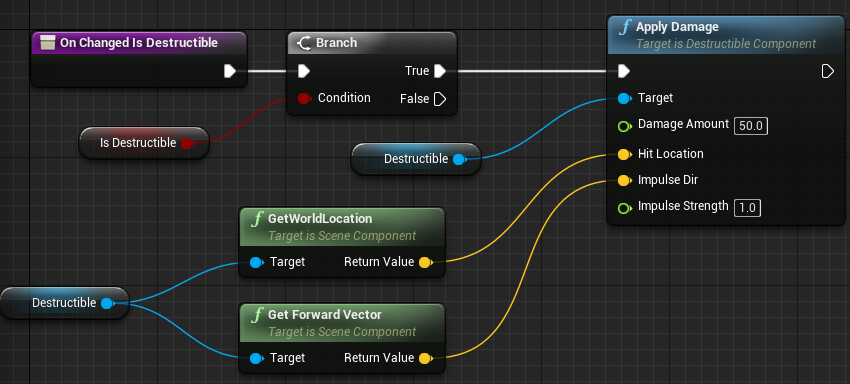
- Connect the nodes as shown in below. Make sure that Damage Amount is 50.0 and Impulse Strength is 1.0
- Click COMPILE and SAVE on top menu. Close the blueprint.

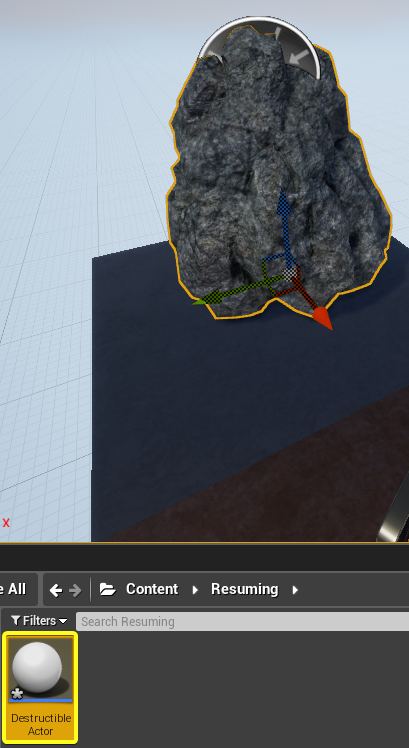
- Put your DestructibleActor into level.
- Launch Reality Setup.
- Click Play on Reality Editor.

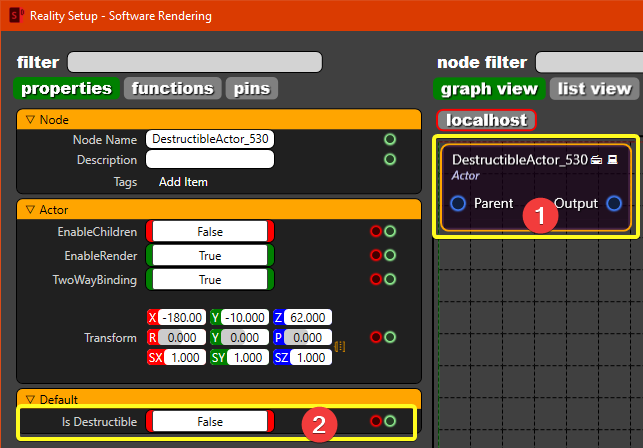
- On Reality Setup, click DestructibleActor. Under the default panel make Is Destructible true and see the changes.
