Reality Texture Input
The texture implementation process lets you feed your actors with different sources such as still images, videos, or live inputs. To set an example, if your design contains a virtual screen, one of the ways to feed that screen is using the Reality Texture Input.
Implementation
The following example utilizes an empty Reality Editor scene; therefore, texture assets in the scene are for illustrative purposes only. You can implement the process to your setup by following the steps below.
- Launch your Reality Editor
- Select the Virtual Studio from the New Project Categories and click on the NEXT button
- Select the Blank project Template
- Choose the With Starter Content from the Project Settings
Our scene is ready. Now:
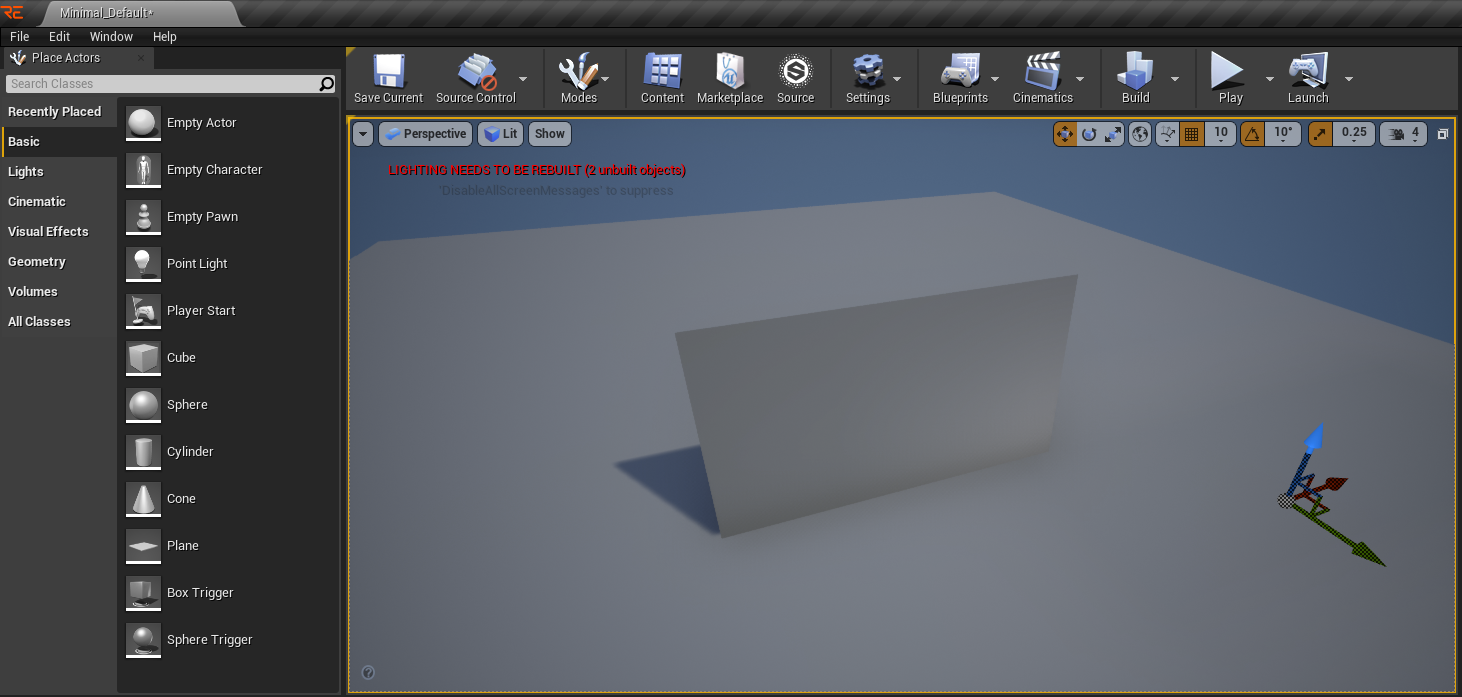
- Go to the Place Actors tab, drag and drop any Static Mesh Actor from the Basic category into your scene
- Go to the Content Browser, right-click and select the Material and rename it as a “TextureInput”
- Switch to the Material Editor interface by double-clicking on the TextureInput material
- Right-click on the Material Editor Nodegraph Canvas, find and select the TEXTURESAMPLE node
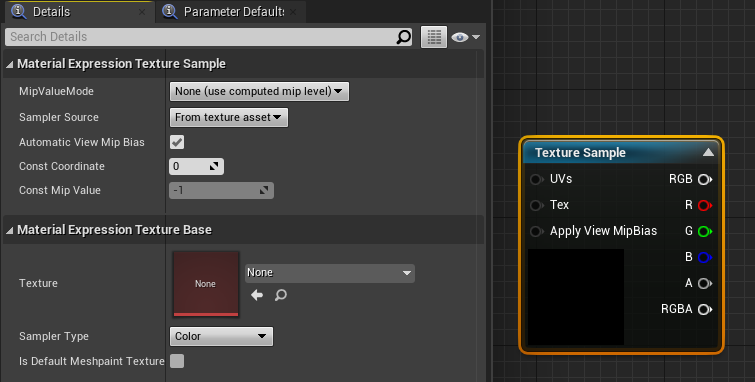
- While the TEXTURESAMPLE node is selected, go to the Details menu on the left side
- Go to the Material Expression Texture Base property group
- Select the ZDNoVideo texture asset from the TEXTURE property dropdown menu.
If you are not able to find the ZDNoVideo, you have to activate the Show Engine Content in the View Options
- Connect the RGB output of the TEXTURE SAMPLE node to TEXTUREINPUT node’s BASE COLOR input
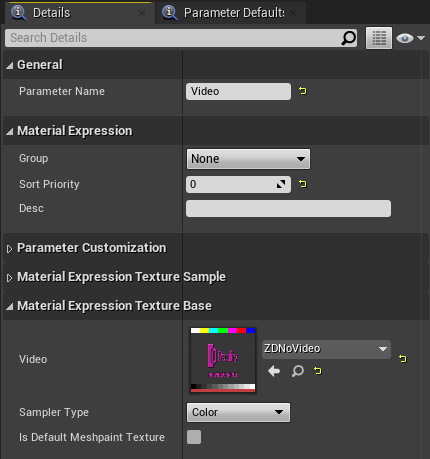
- Right-click on the TEXTURE SAMPLE node and select the Convert to Parameter
- Rename your PARAMETER NAME like “Video”
- Save your asset by clicking on the SAVE button
- Close the Material Editor interface and switch to the Level Editor interface and
- Select the TextureInput material, assign it to your Static Mesh Actor
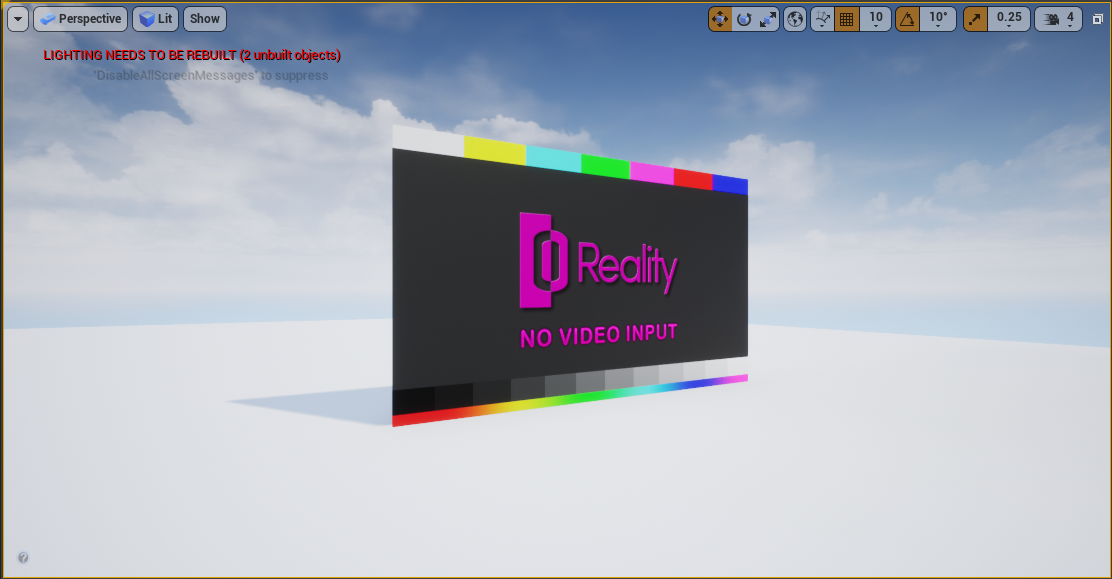
- Now we need to expose our Static Mesh Actor to the Reality Hub. To do that:
- Go to the World Outliner and select your Static Mesh Actor
- Go to the Details tab, click on + ADD COMPONENT, find and choose the ZDACTOR in the search bar
- While the ZDACTOR is selected, go to the REALITY property group, change the ACTOR NAME as a “MyStaticMesh”
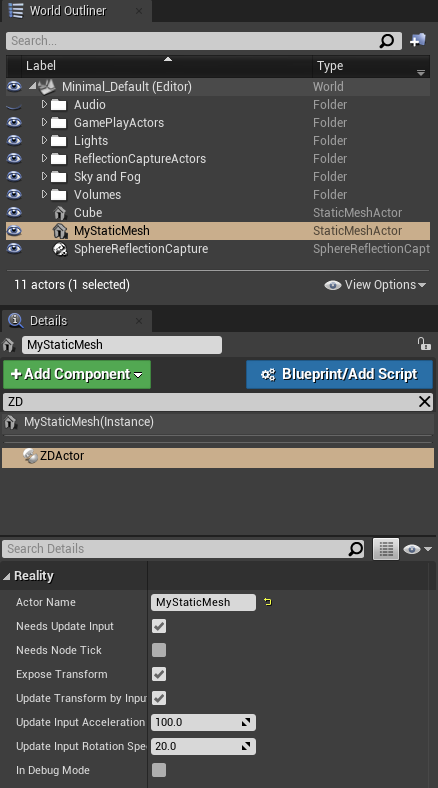
Now we need to create a process called Texture Binding. To do that:
- Go to the Details tab, click on + ADD COMPONENT, find and select the ZDUPDATE MATERIAL in the search bar
- While the ZDUPDATE MATERIAL is selected, go to the REALITY property group, click on the ➕ in the TEXTURES property to add an Array Element
Your last action adds an array to the TEXTURE with two members: TEXTURE PROPERTY NAME and MATERIAL PARAMETER NAME. Now:
- Change the TEXTURE PROPERTY NAME as an “SDI_input”
- Change the MATERIAL PARAMETER NAME as a “Video”
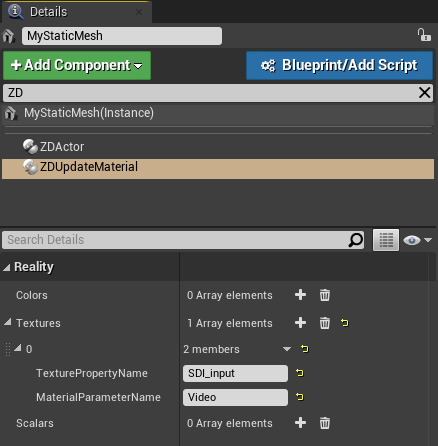
In the last step, we also need to add a texture property to display it as a pin in Reality Hub. To do that:
- Go to the Details tab, click on + ADD COMPONENT, find and select the ZDPROPERTYCOMPONENT_TEXTURE in the search bar
- While the ZDPROPERTYCOMPONENT_TEXTURE is selected, go to the REALITY property group, change the MEMBER NAME as an “SDI_input”
Now it is time to check if our setup is working correctly:
- Click on the PLAY button inside the Level Editor
- Login to Reality Hub through your browser
As soon as you click on the PLAY button, Reality Hub starts communicating with your engine through Reality Loader and visualizes your Actor as a node on its Nodegraph/Editor module as shown on the image below:
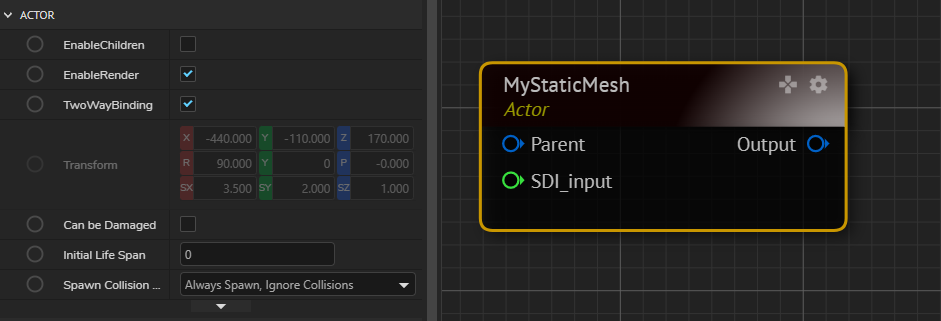
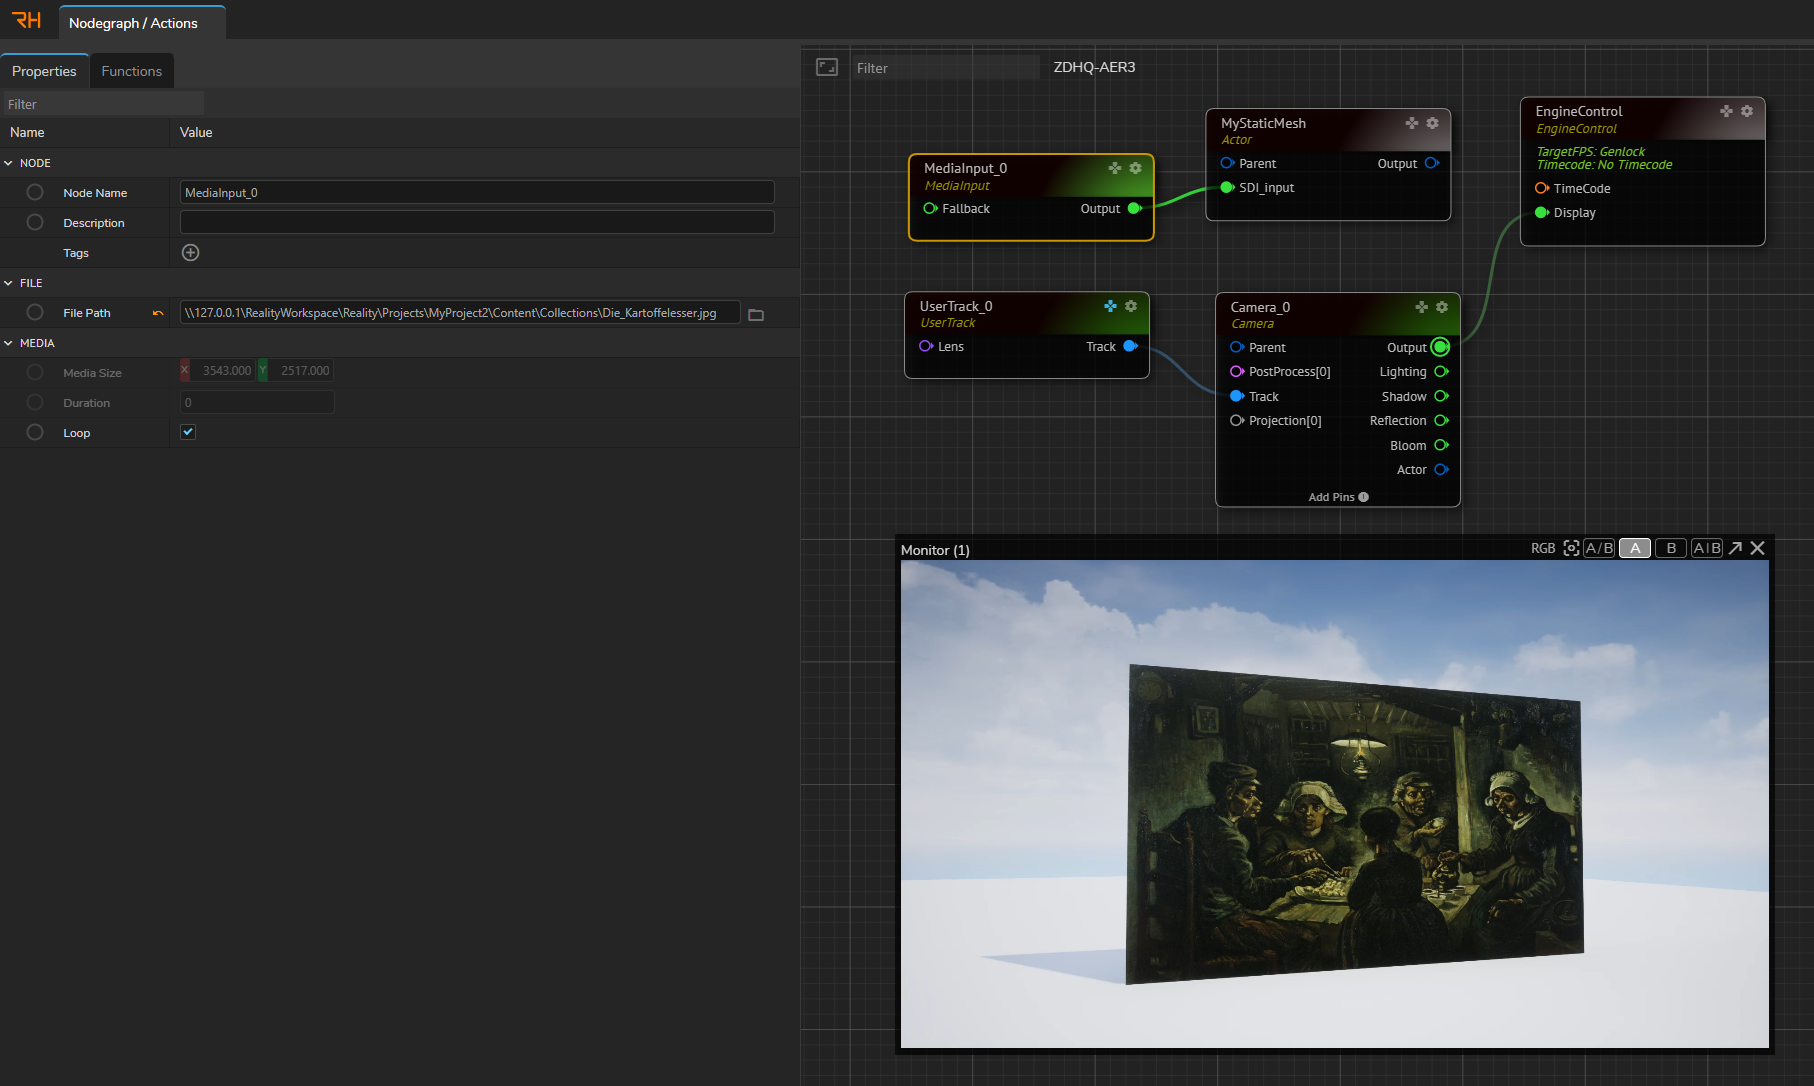
- Create the following node tree
- Activate the Advanced Preview Monitor on the CAMERA node’s OUTPUT pin
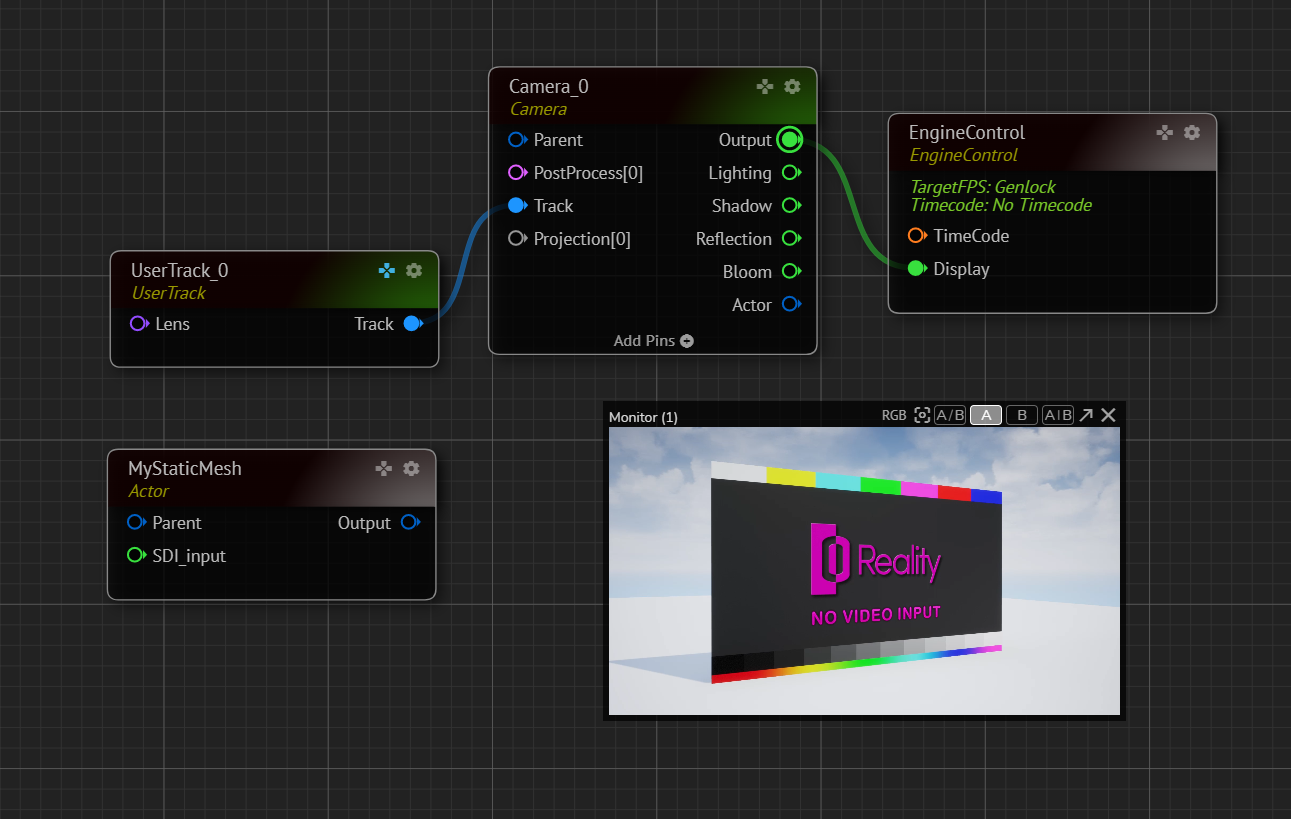
- Add a MEDIAINPUT node and connect its OUTPUT pin to MYSTATICMESH node’s SDI_INPUT pin
- Select the MEDIAINPUT node, go to its Properties
- Click on the folder icon in the FILE PATH property. This action opens the Asset Browser
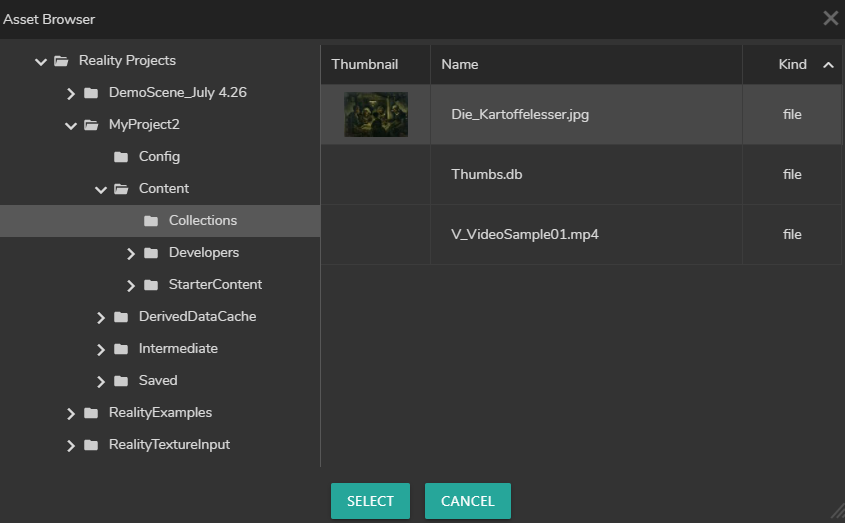
- Select a different asset and click on the SELECT button
Here is the final result:
